Two bundled typefaces.
Manrope offers normal weights 400, 600, 700, and 800. Gelasio offers weights 400, 600, and 700 in normal and italic styles. Custom font uploads are not supported.
 DevSnapKitSTUDIO
A SCREENSHOT. YOUR WORDS.
Turn a screenshot into a story with one clear headline. Capture your screen, add your words, and download the result.
Add text to a screenshotFree to start. Your image stays in your browser.
A silent walkthrough from a captured image to a finished headline. Use the upper-left button to pause or replay, or the lower-right button to expand.
One headline, clearly yoursGive new words a space of their own.
Editable while you workChange the type, size, and placement.
Ready to shareDownload a PNG, WebP, or JPEG.
THE DIFFERENCE IS A SENTENCE
Same image, same canvas. Slide to see “A brighter outlook.” appear above the weather cards.
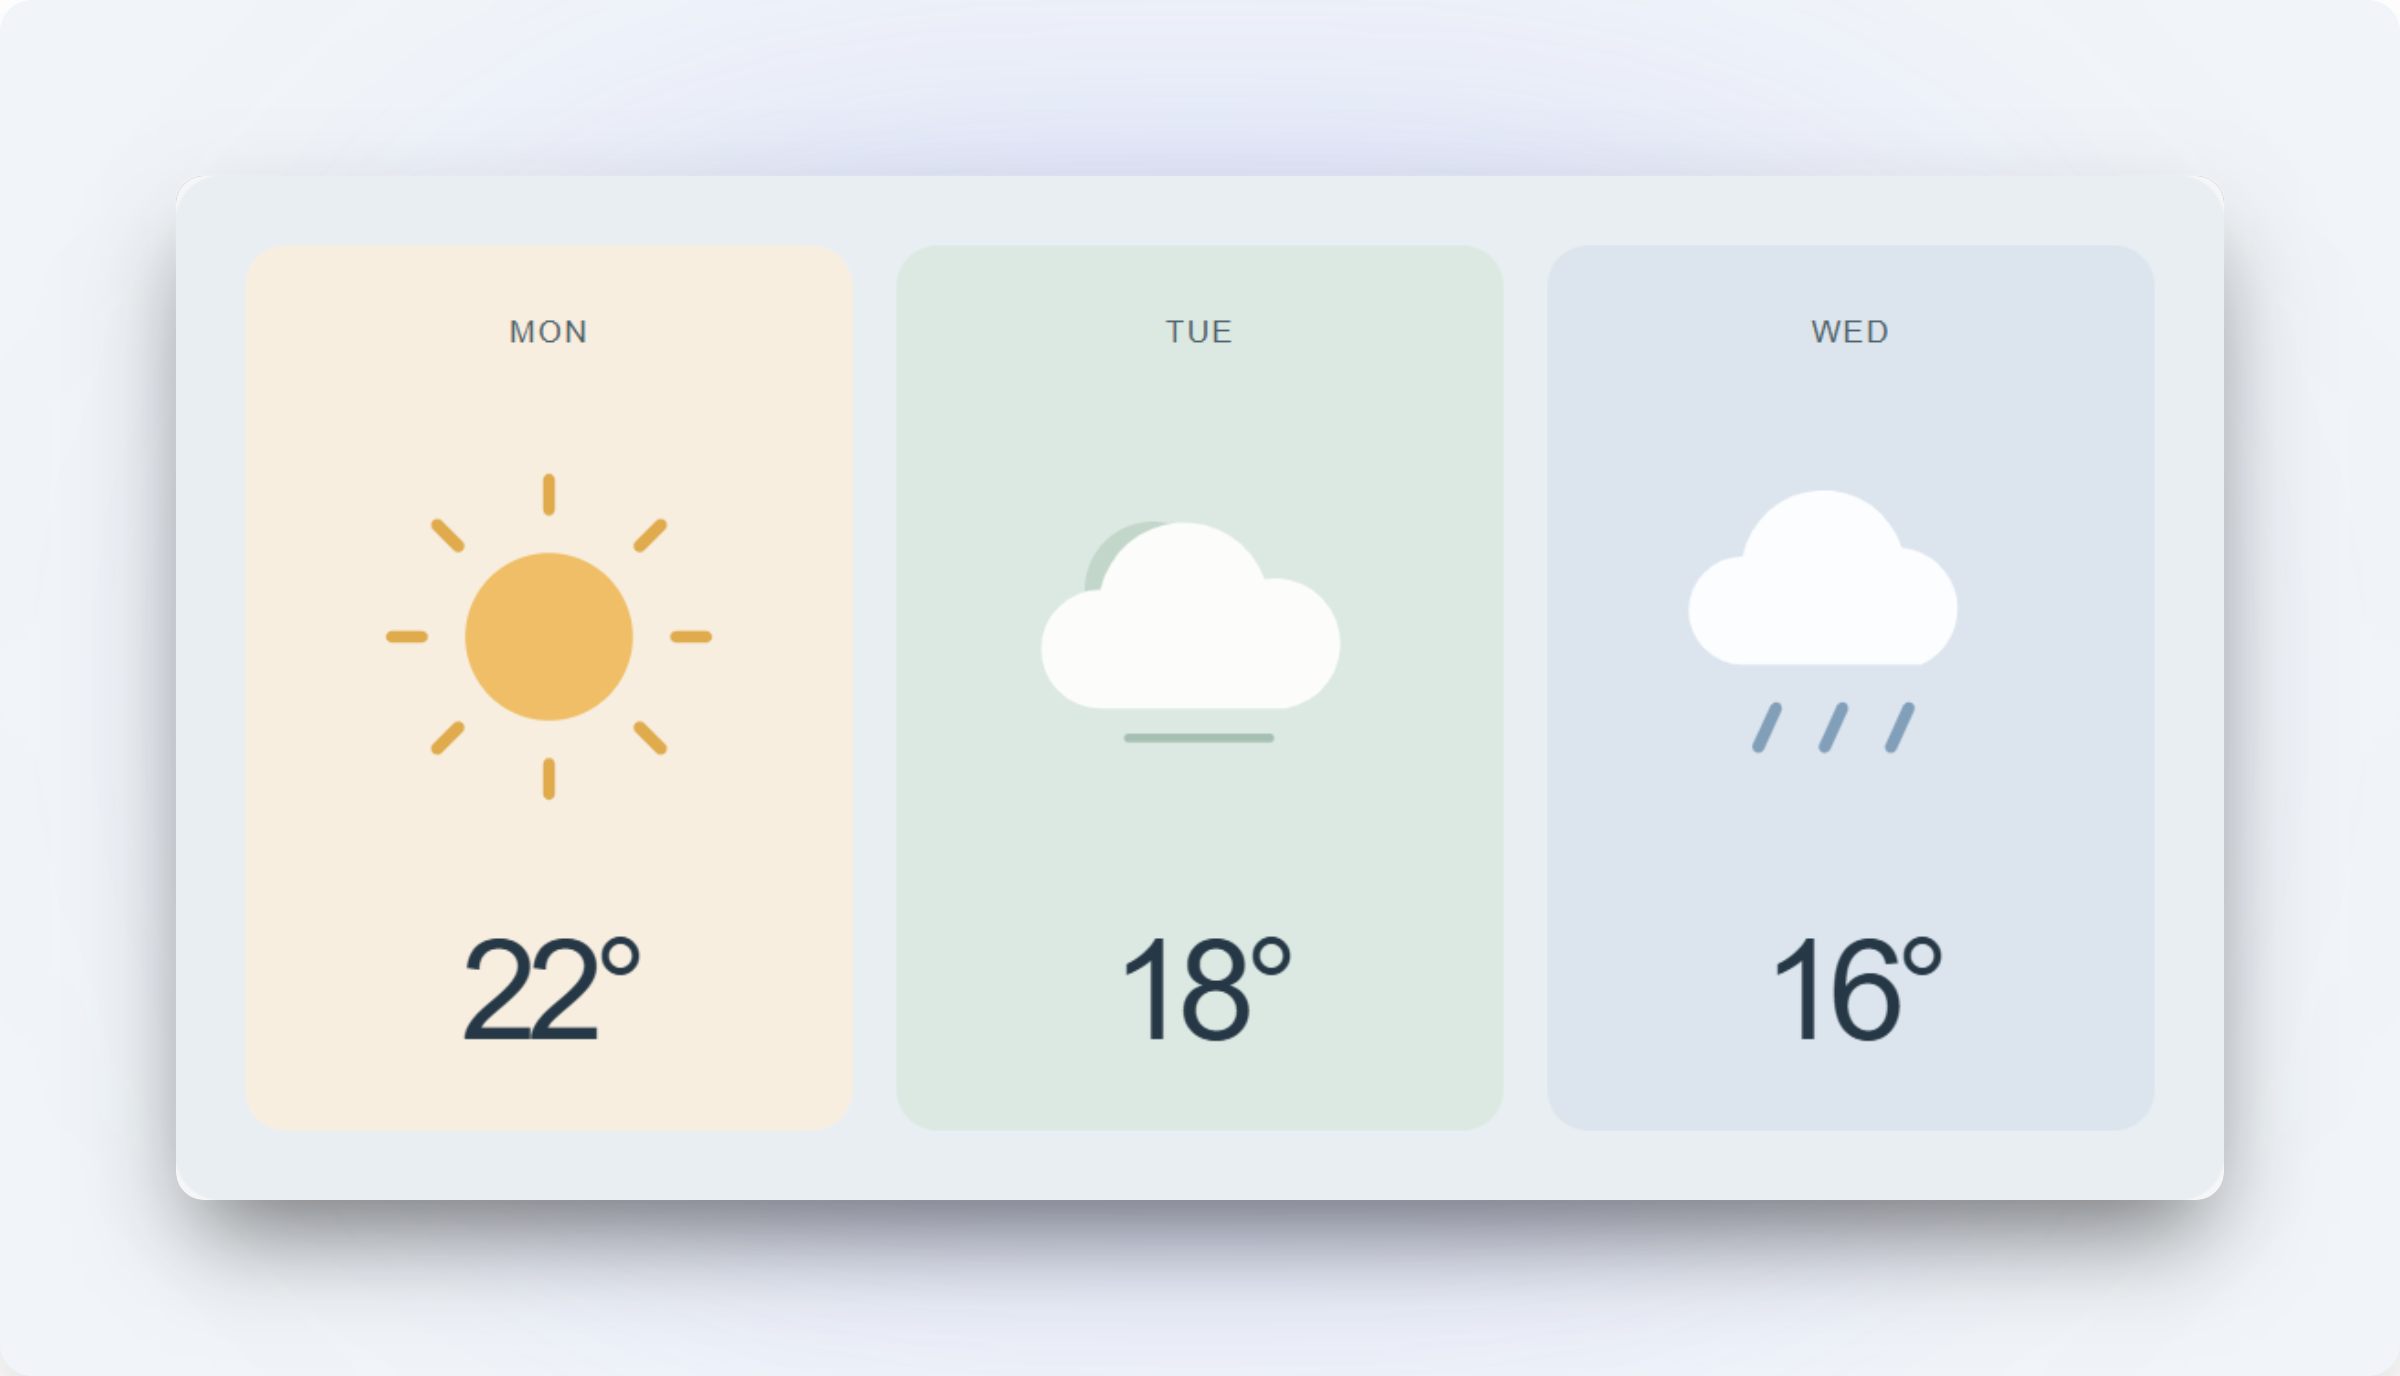
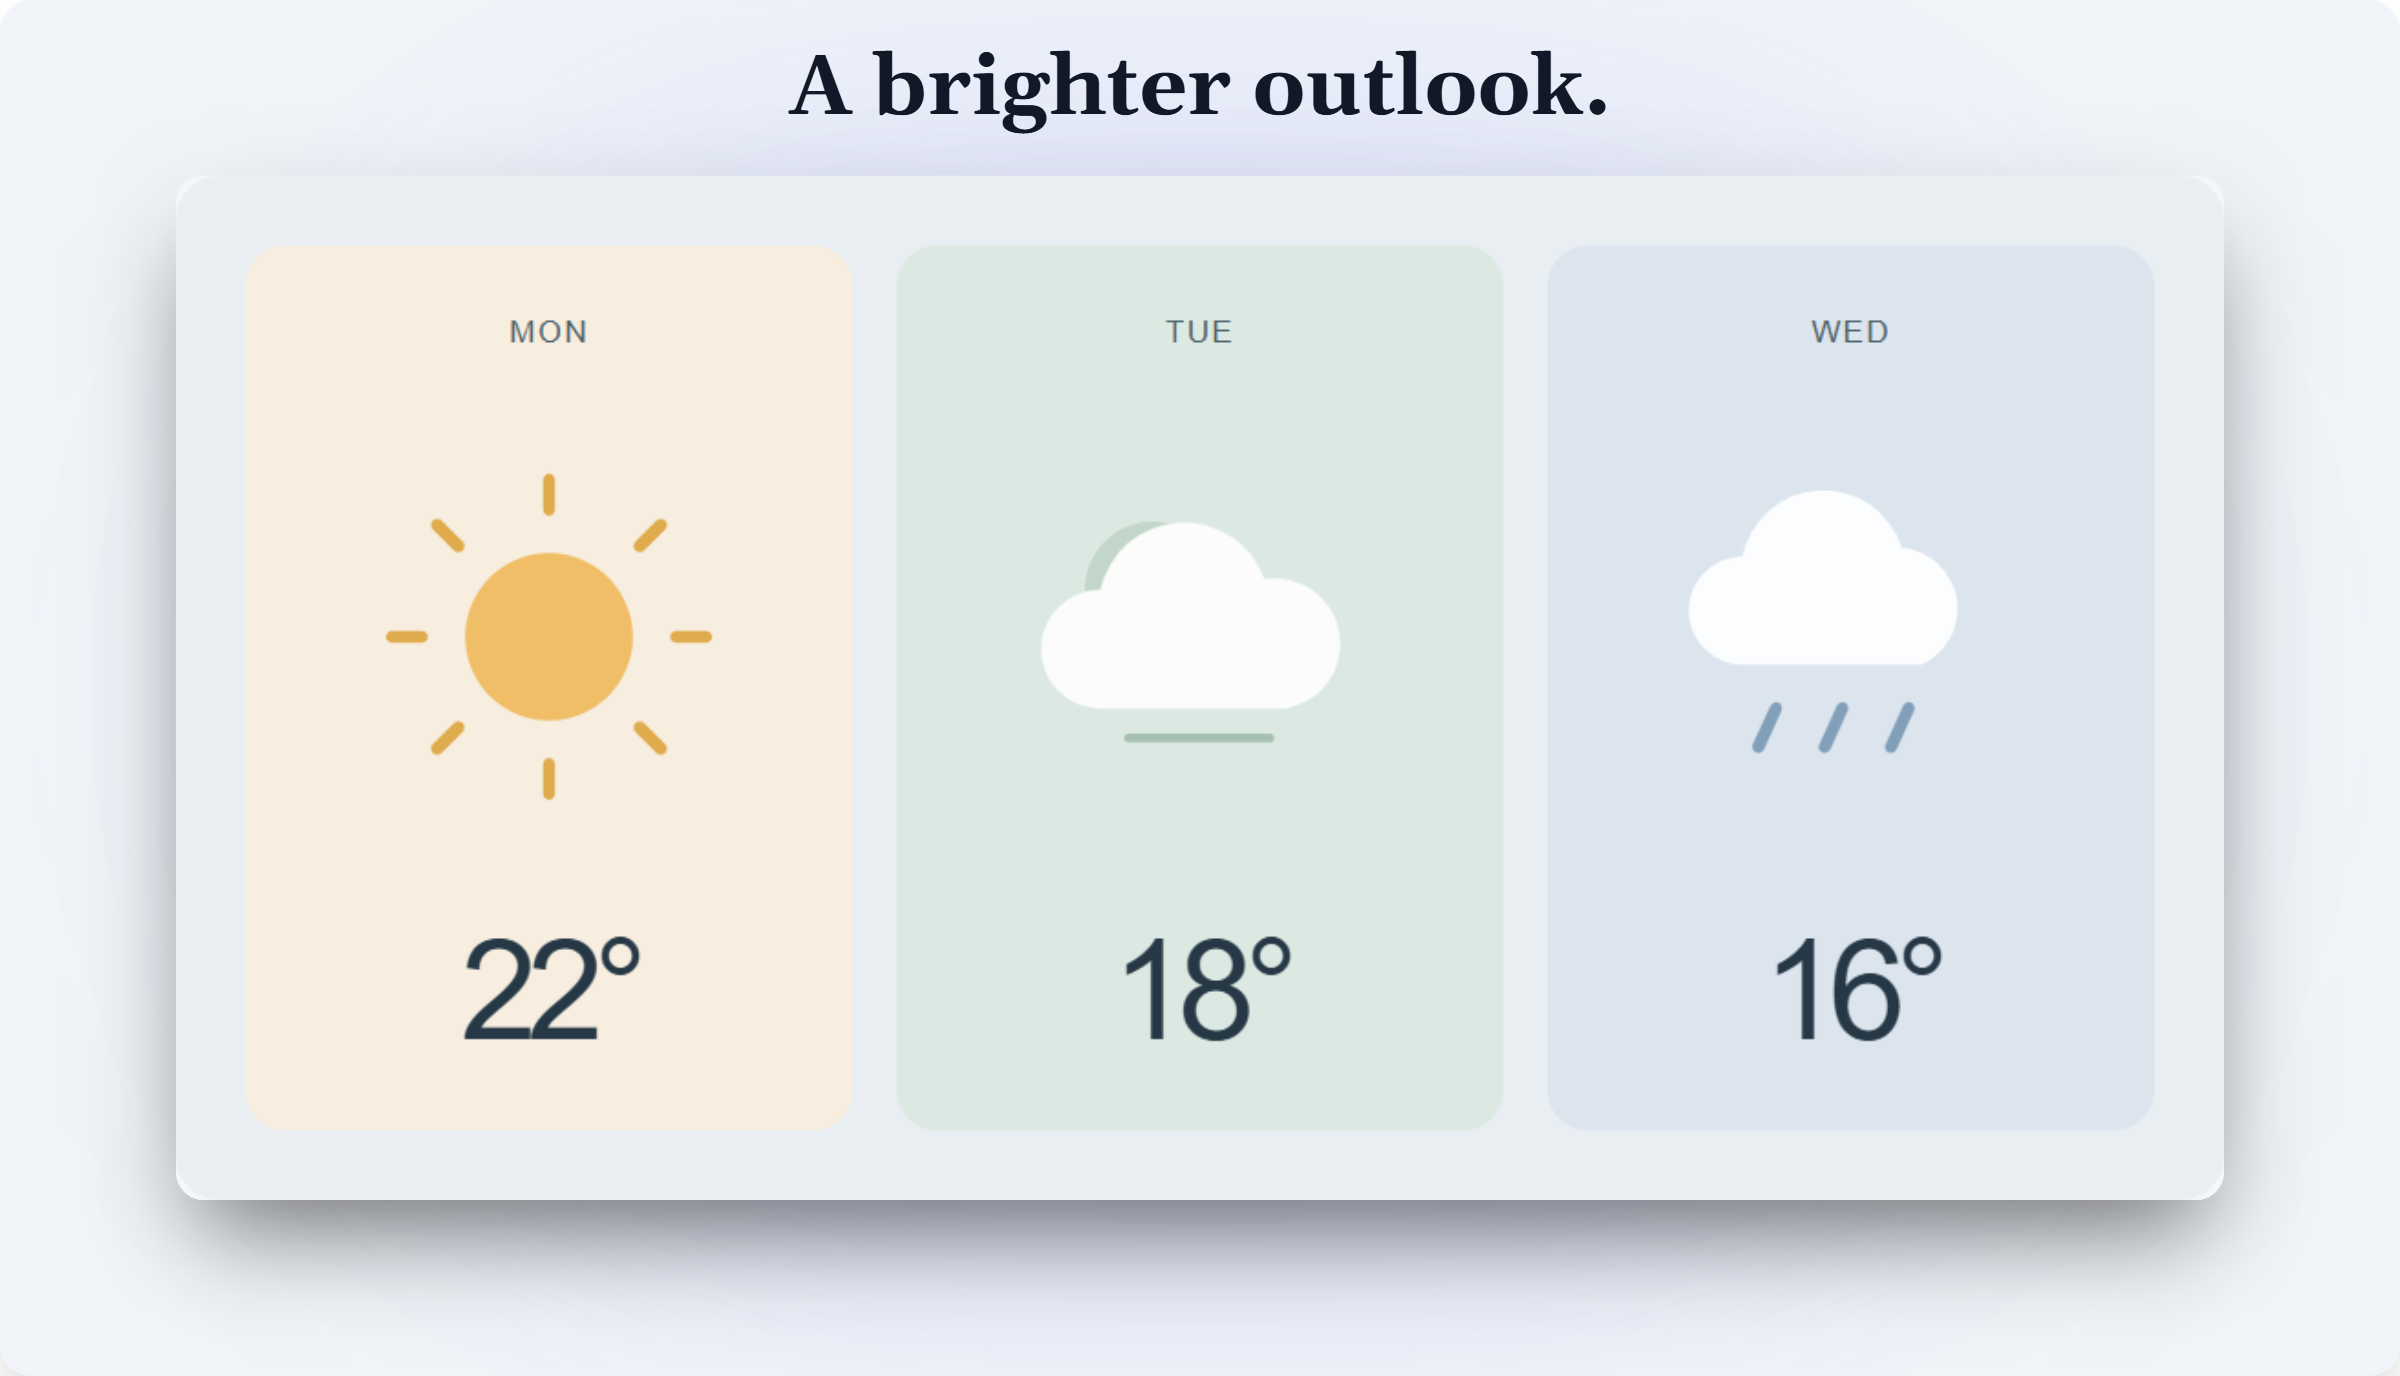
Clear Skies is an illustrative interface created for this walkthrough. The result is an actual studio download. View original / View export.
CAPTURE → IMPORT → WRITE → EXPORT
Start with the part of the screen you want to explain. Keep the original image simple, then give your new words a space of their own.
01 · CAPTURE
On Windows, press Win + Shift + S and drag around the area you need. Save the capture from the screenshot preview. On Mac, press Shift + Command + 4, then drag to capture an area.
This step uses your computer's screenshot tool. DevSnapKit styles the saved image afterward. The video shows capture instructions and the source area, followed by the real editor workflow.
02 · IMPORT
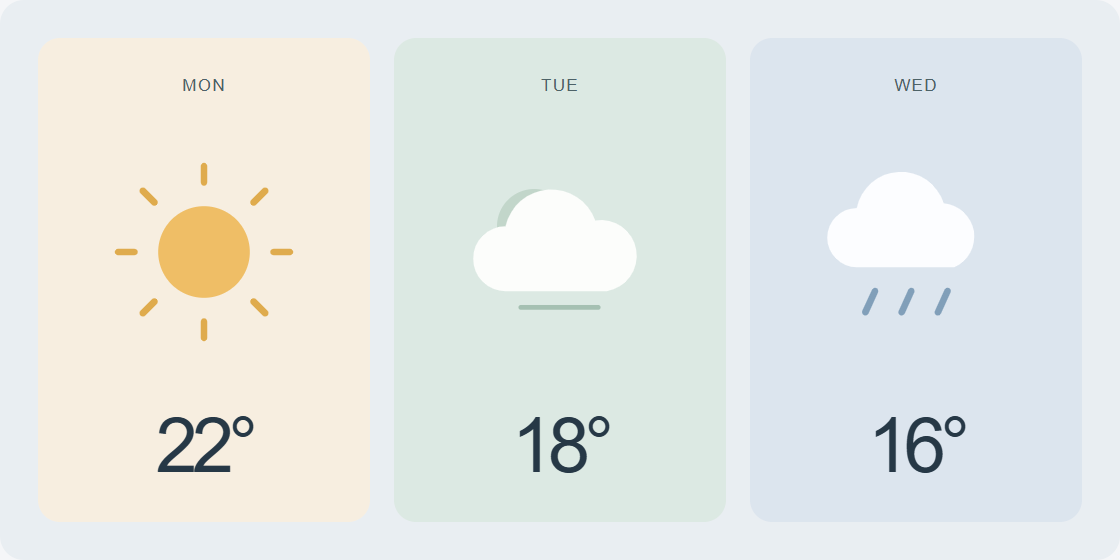
Open the text studio. Choose Replace Image below the canvas and select your saved screenshot. Your image is processed locally in your browser.
03 · WRITE
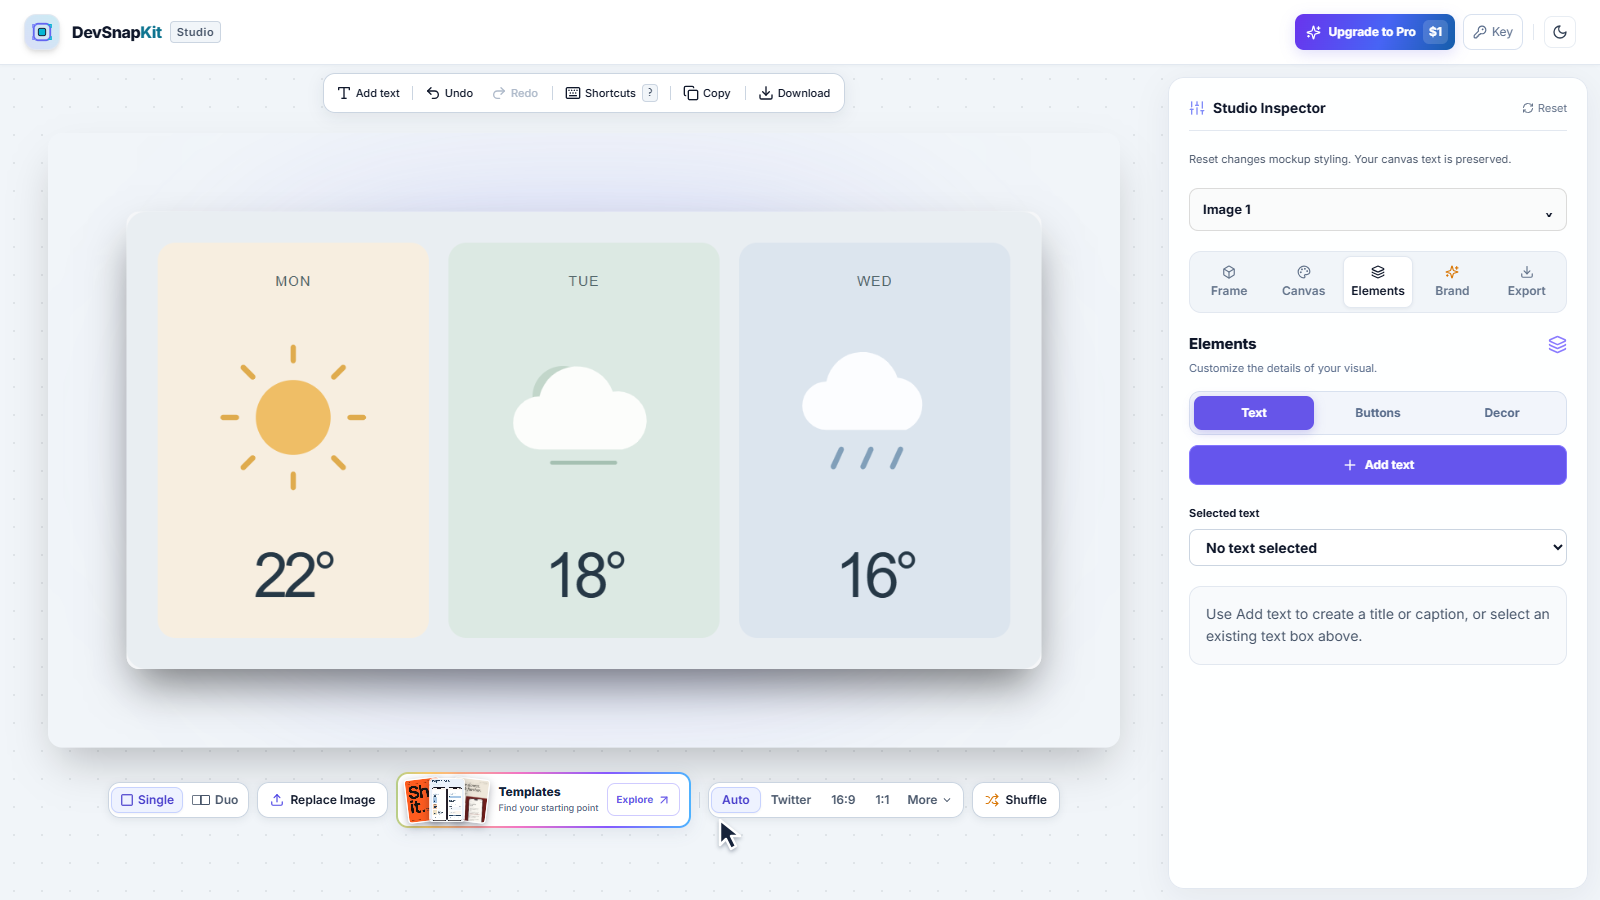
Choose Add text and type your headline. Here we add “A brighter outlook.” Choose Elements → Text to finish typing and reveal the style controls.
Pick a typeface and size, then use the Move handle to place the words above the screenshot. Drag a side handle to change the box width. This example uses Gelasio at 42 px.
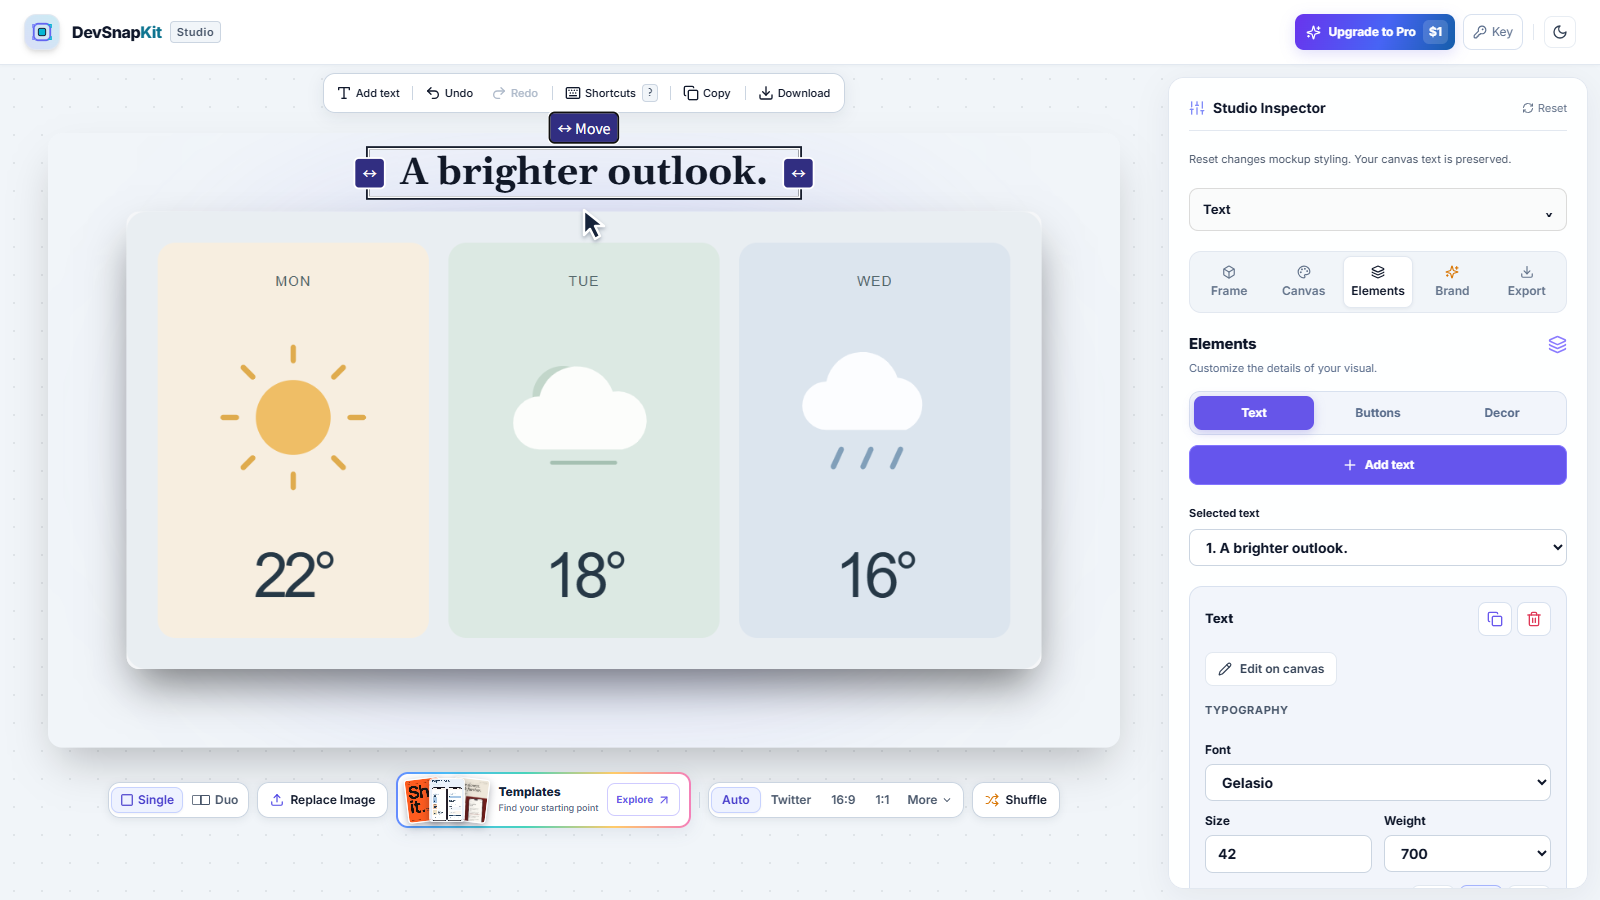
04 · EXPORT
Open Export. Choose PNG, WebP, or JPEG, check the displayed pixel dimensions, then select Download. This is the actual downloaded PNG.
Your words stay editable in the open studio session. The exported image combines the screenshot and text into one file.
Now try it with your screenshot.
Write on a screenshotSMALL DETAILS, CLEARER WORDS
Manrope offers normal weights 400, 600, 700, and 800. Gelasio offers weights 400, 600, and 700 in normal and italic styles. Custom font uploads are not supported.
Choose left, centre, or right alignment. Adjust box width to control line breaks, then move it into place.
Use the text picker to select a box, including when another object overlaps it.
Adding, moving, restyling, and deleting text share the same undo history as your image edits.
Three ways to use a sentence of your own.
A TUTORIAL
Add a short title to tell readers what they are about to learn.
A PRODUCT UPDATE
Give the new feature a headline that explains its benefit. For link previews, compose an Open Graph image.
A QUICK EXPLANATION
Place a label beside the detail you want someone to notice.
Yes. Click your text on the canvas, or select its entry in Elements → Text and choose Edit on canvas. It stays editable in your open studio session, including after downloading an image.
In the exported PNG, WebP, or JPEG, yes. The download contains the finished visual, without editable text layers.
No. DevSnapKit adds new text boxes. It does not recognise, erase, or replace words baked into the screenshot. Change the source app and take a new screenshot to correct those words.
No. You can move a text box, change its width, and restyle it. Text rotation is not supported.
Export asks you to fix the overflowing box. Move it inward, shorten the words, reduce their size, or adjust the box width before downloading.
Yes. Text, logo uploads, and QR codes are included in Free. Pro adds premium templates, high-resolution export presets, batch export for multiple canvas sizes, and premium gradient backgrounds. Final pixel dimensions are shown before export.
YOUR NEXT SCREENSHOT